How to print the HTML page in an angular app is going to be discussed; we will learn how to integrate the feature of adding a button to generate the PDF file out of our current page. Which can be saved as a PDF file or get printed.
If you are looking for add Print this page button in the Angular application, then you are in right place. We are going to learn how to add a Print this page button without using any third-party plugin.
Let’s go through the following quick steps to implement the Print Page feature in the Angular 12 application in our example application.
Add Print Page Feature in Angular Application
- Setup Angular Application
- Update HTML Template
- Add Print Page Method in Component Class
- Run Development Server
Setup Angular Application
Commence with a new angular application, execute the following ng command in the terminal window:
$ ng new angular-demo-app
Update HTML Template
Thereafter, put some HTML stuff in the component view. We are adding a table that will be added into the PDF file generate to get a print.
Open the app.component.html file and update it with the following template HTML in it.
<table class="table">
  <thead>
    <tr>
      <th>Firstname</th>
      <th>Lastname</th>
      <th>Email</th>
      <th>Image</th>
    </tr>
  </thead>
  <tbody>
    <tr>
      <td>John</td>
      <td>Doe</td>
      <td>john@example.com</td>
      <td>
        <img src="https://i.pravatar.cc/50?img=1" alt="thumb" />
      </td>
    </tr>
    <tr>
      <td>Mary</td>
      <td>Moe</td>
      <td>mary@example.com</td>
      <td>
        <img src="https://i.pravatar.cc/50?img=2" alt="thumb" />
      </td>
    </tr>
    <tr>
      <td>July</td>
      <td>Dooley</td>
      <td>july@example.com</td>
      <td>
        <img src="https://i.pravatar.cc/50?img=3" alt="thumb" />
      </td>
    </tr>
  </tbody>
</table>

<button (click)="printThisPage()">Print This Page</button>
Add Print Page Method in Component Class
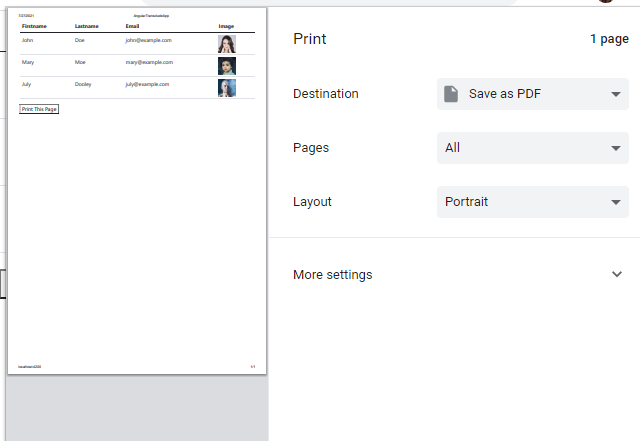
Next, update the component class with printThisPage() method. This method will execute the window.print() method to print the document with full DOM HTML.
Open the app.component.ts class file as shown below.
import { Component } from '@angular/core';

@Component({
  selector: 'app-root',
  templateUrl: './app.component.html',
  styleUrls: ['./app.component.scss']
})

export class AppComponent {

  constructor() { }

  //Print Page
  printThisPage() {
    window.print();
  }
}
Run Development Server
That’s it, we are ready to test our application with the Print This Page button. Execute the following ng command
$ ng serve --openIt will open the application on the following URL
http://localhost:4200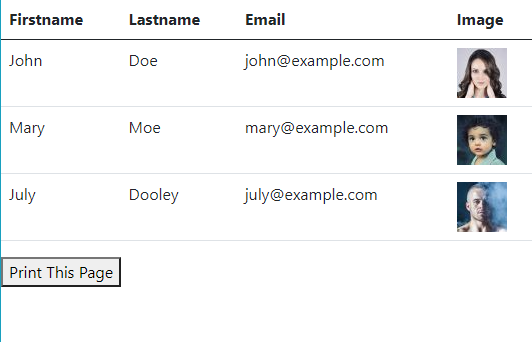
Conclusion
We are completed our tutorial on adding the print this page feature in the Angular app. We used the windows print method to generate the PDF document of the HTML view template. This provides a quick solution to add a Print feature without any third-party package or library.