In this Laravel tutorial, we will discuss how to easily create a Multipage PDF document by using the DomPDF package. The PDF file will contain Images, Background Images, and Table data with padding around the content.
We will walk through a detailed step-by-step tutorial on how we can generate the PDF file from HTML content which can have content of multiple or separate pages.
Installing DomPDF in Laravel
To begin, open your terminal and navigate to your Laravel project’s root directory. Then, run the following command to install the DomPDF package:
composer require barryvdh/laravel-dompdf
Configuration
Once DomPDF is installed, you must register its service provider and facade. Open the config/app.php file, and add the following lines to the respective sections:
'providers' => [
    ...
    Barryvdh\DomPDF\ServiceProvider::class,
],

'aliases' => [
    ...
    'PDF' => Barryvdh\DomPDF\Facade::class,
],
Next, publish the configuration file for DomPDF using the following command:
php artisan vendor:publish --provider="Barryvdh\DomPDF\ServiceProvider"
This command creates a config/dompdf.php file where you can configure various settings for DomPDF.
Creating a PDF View
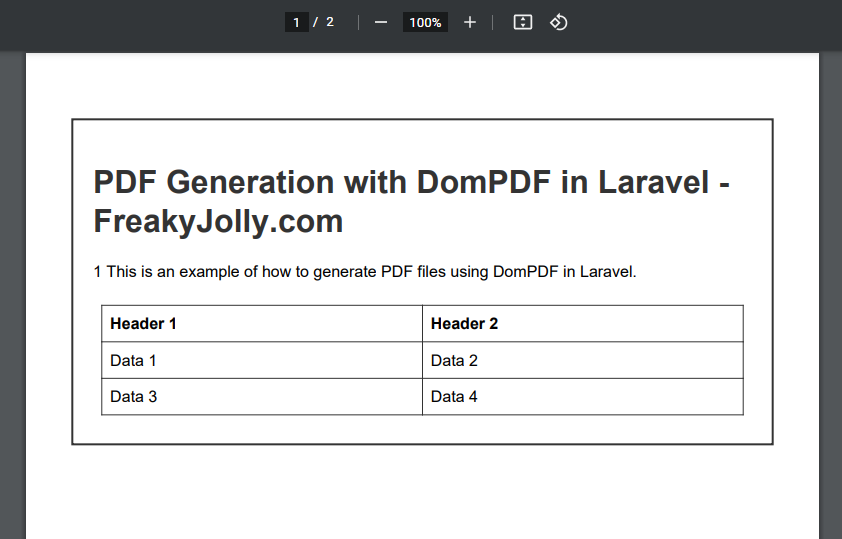
To generate a PDF file, start by creating a new Blade view for your PDF content. In this example, we will create a file named pdf_example.blade.php in the resources/views directory. You can include any HTML content that you want to appear in the PDF, like the following example:
<!DOCTYPE html>
<html>
<head>
    <title>PDF Example</title>
    <style>
        body {
            font-family: Arial, sans-serif;
        }
        h1 {
            color: #333;
        }
        .content {
            border: 2px solid #333;
            padding: 20px;
            margin: 20px 0;
        }
        table {
            width: 100%;
            border-collapse: collapse;
        }
        table, th, td {
            border: 1px solid #333;
            padding: 8px;
            text-align: left;
        }
        .page-break {
            page-break-after: always;
        }
    </style>
</head>
<body>
    <div class="content">
        <h1>PDF Generation with DomPDF in Laravel - FreakyJolly.com</h1>
        <p>This is an example of how to generate PDF files using DomPDF in Laravel.</p>


        <table>
            <thead>
                <tr>
                    <th>Header 1</th>
                    <th>Header 2</th>
                </tr>
            </thead>
            <tbody>
                <tr>
                    <td>Data 1</td>
                    <td>Data 2</td>
                </tr>
                <tr>
                    <td>Data 3</td>
                    <td>Data 4</td>
                </tr>
            </tbody>
        </table>
    </div>

    <div class="page-break"></div>

    <div class="content">
        <h1>Second Page</h1>
        <p>Lorem ipsum dolor sit amet, consectetur adipiscing elit. Fusce eget lectus in diam vehicula bibendum. Quisque commodo odio quis interdum hendrerit.</p>
    </div>
</body>
</html>
Generating PDF with DomPDF
Creating a Controller
To handle the PDF generation, create a new controller named PdfController using the following command:
php artisan make:controller PdfController
Inside the PdfController, add a new method called generatePdf:
<?php

namespace App\Http\Controllers;

use Illuminate\Http\Request;
use PDF; // Add this line

class PdfController extends Controller
{
    public function generatePdf()
    {
        $pdf = PDF::loadView('pdf_example');
        return $pdf->download('pdf_example.pdf');
    }
}
In this method, we use the loadView function to load the pdf_example Blade view we created earlier. Then, we call the download function to generate a PDF file with the given name.
Defining a Route
Next, define a route in the routes/web.php file to map to the generatePdf method in the PdfController:
use App\Http\Controllers\PdfController;

Route::get('/generate-pdf', [PdfController::class, 'generatePdf']);
Creating a PDF File
Now, navigate to http://your-app-url/generate-pdf in your web browser. The system will generate a PDF file named pdf_example.pdf and prompt you to download it. The file should contain the content from your pdf_example.blade.php view.
Conclusion
In this tutorial, we demonstrated how to generate PDF files using DomPDF in Laravel for beginners. We covered the installation and configuration of DomPDF, creating a PDF view, generating the PDF, and applying styles. With these steps, you should now be able to create PDF files with customized content in your Laravel applications.