In web applications, social logins are becoming common and popular these days. It makes the process of signing up or login the web application by using social logins like Facebook and Google seamless and easy.
Social login enables users to authenticate by using their Google or Facebook profiles. This process also eliminates the need to remember credential details like username and password.
In this guide, we will discuss the process of integrating Facebook and Google authentication or sign process in the Next js application. We will deploy NextAuth.js which is a popular and open-source library for authentication integration in the Next js application.
Not only Google or Facebook, but it also supports various providers for implementing authentication solutions which are fully featured yet easy to use.
We will walk through step by step process to create Facebook and Google developer profiles and fetch their respective key to be used for the Social authentication setup in the Next js application. There will be a Header component to display the user details after the user logs in successfully. The logged-in state of the user will remain persistent even the application is refreshed, which can be logged out only when the session is expired or the logout button is clicked.
How to Add Facebook & Google Auth Login Buttons in Next js App?
We will walk through these quick steps to set up Facebook and Google developer profiles and implement social login in the Next js application using the NextAuth.js library:
Step 1: Setting Up Your Next.js Application
Step 2: Installing NextAuth.js
Step 3: Setting Facebook & Google Apps
Step 4: Configuring NextAuth.js
Step 5: Adding Login and Logout Buttons
Step 1: Setting Up Your Next.js Application
First, let us create a new Next js application. Open your terminal and run the following command:
npx create-next-app@11 nextjs-facebook-loginThis will create a new Next.js application in a directory with the name nextjs-facebook-login.
Step 2: Installing NextAuth.js
After creating the application, next we need to install the NextAuth.js library. The NextAuth.js is a powerful open-source package with supports multiple authentication integration methods.
Run the following command to install the library after getting into the working directory:
cd nextjs-facebook-login
npm install next-auth
Step 3: Setting Facebook & Google Apps
For the integration of Social login accounts in the Next js app using the NextAuth.js library, we need to have their respective API credentials. These credentials mainly consist of API keys and secret values for each social account like Facebook and Google which we need to get from their developer consoles.
Let’s have a look, at how you can fetch these values:
Facebook API Credentials
To use Facebook login, you’ll need to create a new Facebook app:
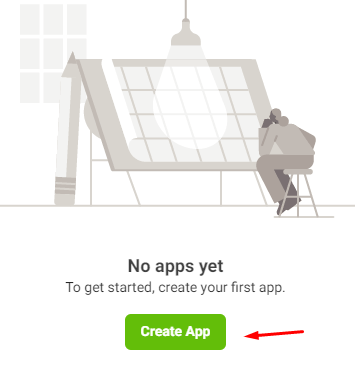
Visit the Facebook Developers website and log in with your Facebook account, then click on “My Apps” in the top right corner, then “Create App”.
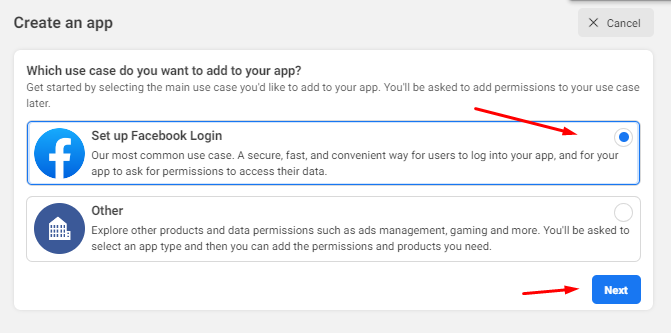
In the next screen, select the “Set up Facebook Login” tab and hit the Next button.
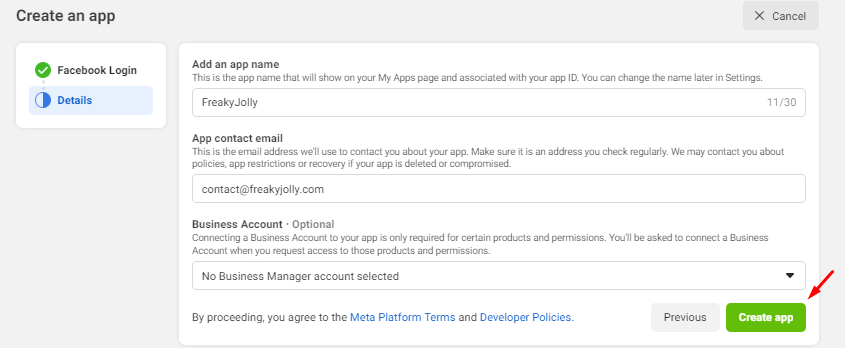
Thereafter, enter the relevant information related to your application and click Create app button. After that, you will be redirected to the Dashboard page.
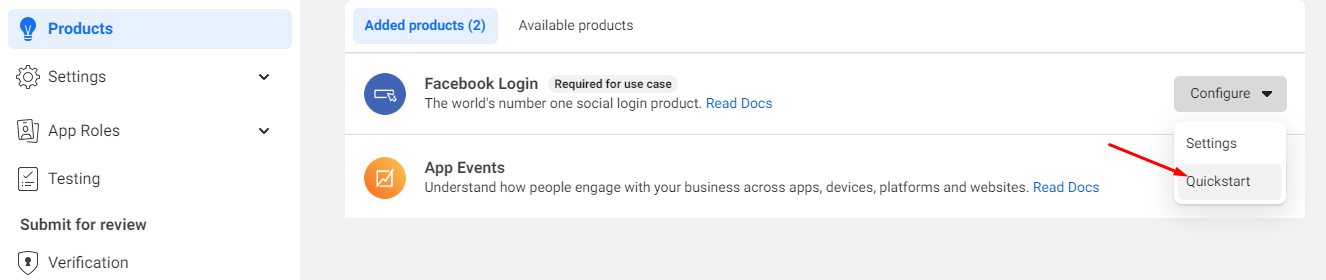
On the left side menu, click on “Products” then click on the “Available Products” tab, click Add on Facebook Login and Configure > Quickstart.
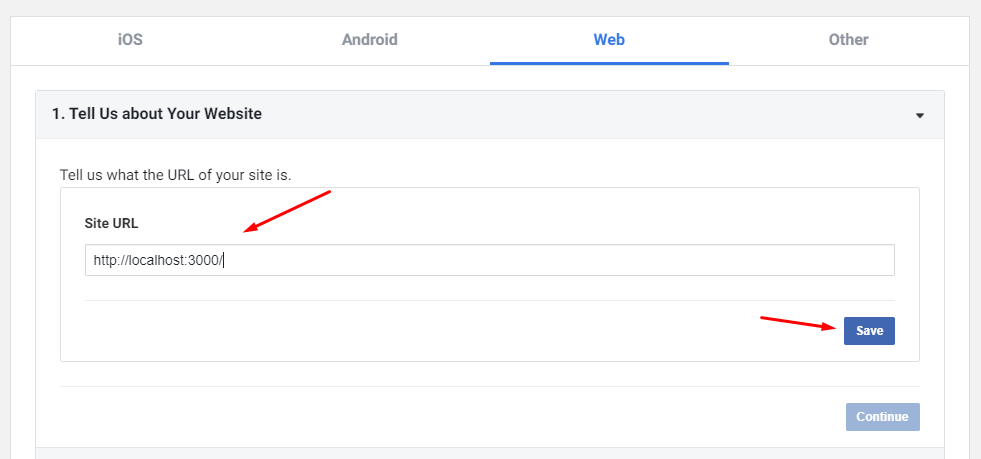
Then select Web, add http://localhost:3000 as Site URL there and Save.
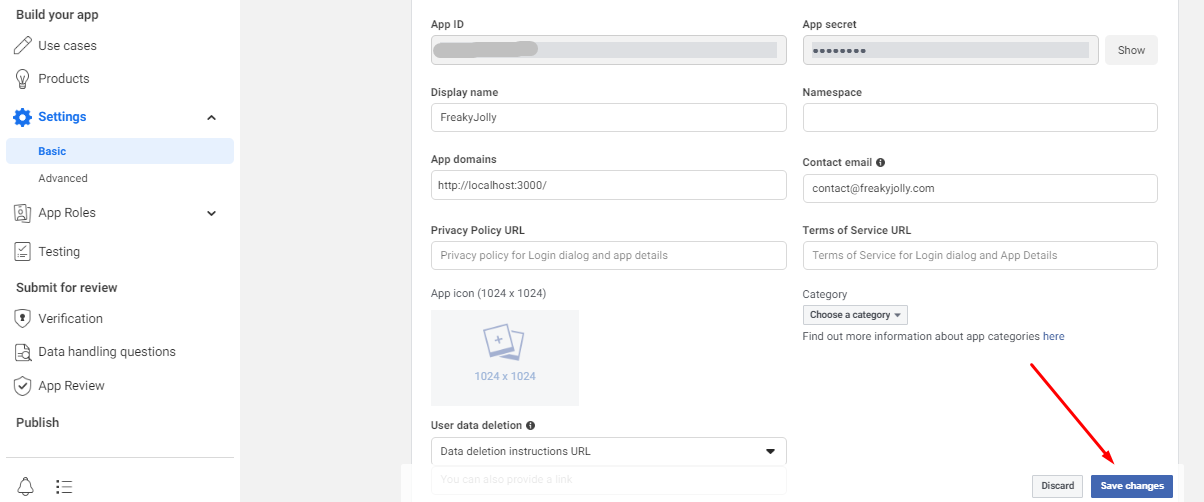
Now go to the left side menu and click on “Settings” -> “Basic” and copy the App ID and App Secret values that we will be using later:
Google API Credentials
Let’s have a look on quick steps to get Google console credentials to be used in Next js social authentication process:
First, go to the Google Cloud Console and create a new project by clicking on the project drop-down and selecting “New Project”. After that click on Create button. Then select the project you just created.
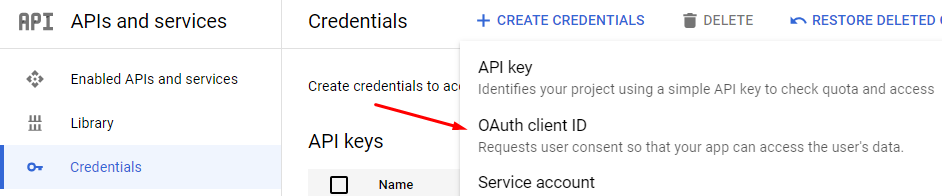
Thereafter, in the left-hand menu, go to “APIs & Services” -> “Credentials” and select “OAuth client ID”.
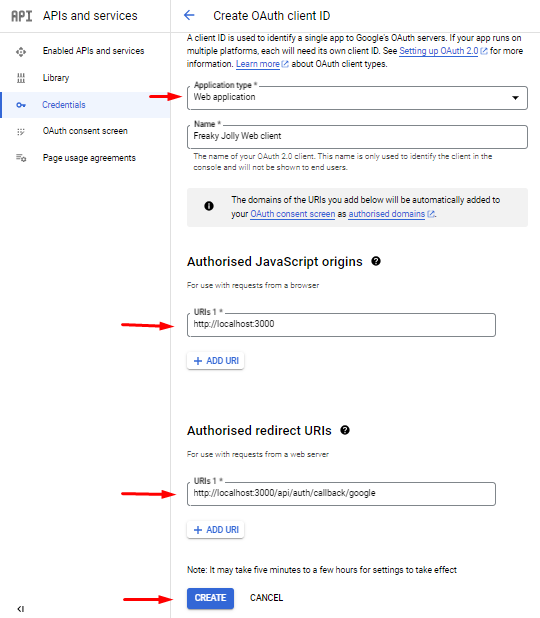
Create the OAuth client ID. Select “Web application” as the application type and provide a name. In the “Authorized JavaScript origins” field, enter the base URL of your application http://localhost:3000.
In the “Authorized redirect URIs” field, enter your callback URL this would be http://localhost:3000/api/auth/callback/google.
Remember to replace http://localhost:3000 with your production base URL and callback URL when deploying your application.
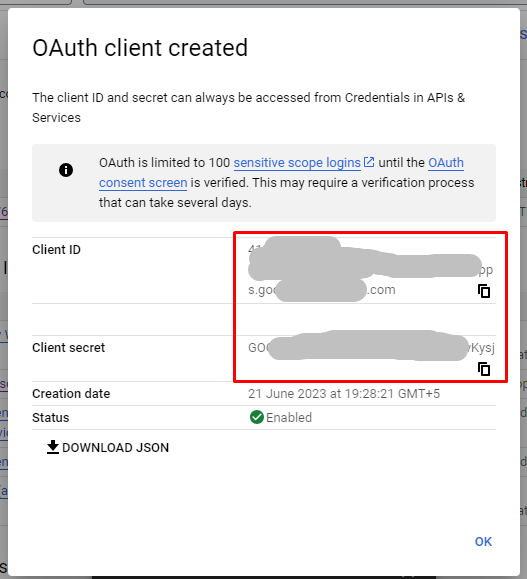
Click Create, and a modal will show up with your client ID and client secret. Copy these values, you’ll need them to configure NextAuth.js.
Step 4: Configuring NextAuth.js
Now, we will configure the NextAuth.js in our application. For that, create a new file […nextauth].js under the directory path ~pages/api/auth at application root.
So the final path of the file will be pages/api/auth/[…nextauth].js. Update the file content with the following:
import NextAuth from "next-auth";
import FacebookProvider from "next-auth/providers/facebook";
import GoogleProvider from "next-auth/providers/google";

const options = {
  providers: [
    FacebookProvider({
      clientId: process.env.FACEBOOK_ID,
      clientSecret: process.env.FACEBOOK_SECRET,
    }),
    GoogleProvider({
      clientId: process.env.GOOGLE_ID,
      clientSecret: process.env.GOOGLE_SECRET,
    }),
  ],
};

export default NextAuth(options);
Here we are fetching the Facebook and Google credentials from the Next js env file, which we will create in the next step.
Step 5: Create and Update the Next JS Environment file
At the application root, create a new file named .env.local and update it with the following content:
FACEBOOK_ID=<app id of your facebook app>
FACEBOOK_SECRET=<app secret of your facebook app>
NEXTAUTH_URL=http://localhost:3000
GOOGLE_ID=<client id of your google auth app>
GOOGLE_SECRET=<client secret of your google auth app>
You need to replace the Client and Secret ID values which we got from Facebook’s and Google’s console dashboards we discussed in previous steps.
Step 5: Adding Login and Logout Buttons
Now we will add the Login and Logout buttons and decide which one to show up based on the login or user session state.
Create a new file named ~components/Header.js and update it with the following content:
import { signIn, signOut, useSession } from "next-auth/react";
export default function Header() {
const { data: session } = useSession();
return (
<header>
{!session && (
<>
Not signed in <br />
<button onClick={() => signIn()}>Sign in</button>
</>
)}
{session && (
<>
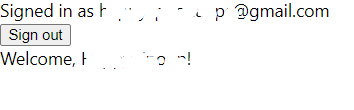
Signed in as {session.user.email} <br />
<button onClick={() => signOut()}>Sign out</button>
</>
)}
</header>
);
}
Step 6: Wrap App with SessionProvider
We need to wrap the App with SessionProvider provided by the next auth. Open the _app.js file and update it with the following content:
import { SessionProvider } from "next-auth/react";
import "../styles/globals.css";

function MyApp({ Component, pageProps }) {
  return (
    <SessionProvider session={pageProps.session}>
      <Component {...pageProps} />
    </SessionProvider>
  );
}

export default MyApp;
Step 7: Update Index Page
Finally, we need to Import the Header component int to the Index landing page in the Next js app. Open the index.js file and update as below:
import { useSession } from "next-auth/react";
import Header from "../components/Header";

export default function Home() {
  const { data: session } = useSession();

  return (
    <div>
      <Header />
      {session && <>Welcome, {session.user.name}!</>}
    </div>
  );
}
Step 8: Run Next Js App
Now you are ready to try out our Social authentication using Facebook and Google login buttons. Execute the npm run dev command to see it working.

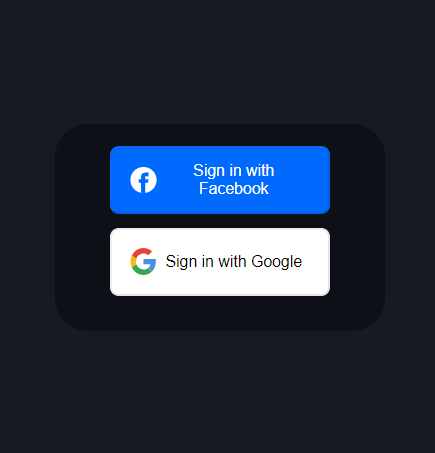
Where user will be able to click on Login to see two buttons Google and Facebook and sees user details after login is successful with a logout button.
Conclusion
We have successfully integrated Google and Facebook login in your Next.js application using NextAuth.js. We discussed how to get Face and Google credentials to be used in the Next js app to configure the next auth library and create the Header component to show the login and logout buttons.
The user session is a persistent event when the application is refreshed, we wrapped the App with SessionProvider to keep the user logged in.
hope this will be helpful…