In this Angular tutorial, you will get to know how to convert multiple HTML / View sections into a multipage PDG file so that each HTML section or container will show up on a different page in a PDF file.
This is a very common requirement for many Angular apps to download a single Multipage PDF file having various sections which are there on an HTML template.
Where we may have various sections/div/containers on view and we simply need to download those sections into a PDF file. We will be using the popular libraries html2canvas and jsPDF to achieve this.
Most important, we just don’t need to dump the converted canvas into a PDF file which will be cut from in between and fed in the PDF file, but we also want to create a professional-looking report with proper padding and each section of each page of the PDF file.
In this guide, we will provide a one-stop solution in step by step process to create a nice-looking multipage PDF file with reasonable padding around content.
Moreover will discuss a very common problem where PDF content becomes blurry and unclear while using jsPDF and html2canvas npm libraries and of course their foolproof solutions.
Let’s get started!
How to Create Multi-Page PDF from Sections on HTML View in Angular?
Follow these quick steps to create a single PDF file with each section on a separate page:
Step 1: Setting Up Your Angular Project
Step 2: Installing Dependencies
Step 3: Creating the PDF Service
Step 4: Generating the PDF
Step 5: Integrating the PDF Service into the Component
Step 6: Creating the HTML Template
Step 7: Applying CSS Styles
Step 8: Adding Images to the PDF
Step 9: Configuring the Download Button
Step 10: Testing the Application
Step 1: Setting Up Your Angular Project
First, create a new Angular project using the Angular CLI:
ng new multi-page-pdf-app
Navigate to the project directory:
cd multi-page-pdf-app
Step 2: Installing Dependencies
Install the required libraries: html2canvas and jsPDF:
npm install html2canvas jspdf
Step 3: Creating the PDF Service
Create a new service for handling PDF generation:
ng generate service pdf
Step 4: Generating the PDF
In the pdf.service.ts file, import the required libraries and create a method called generatePdf:
import { Injectable } from '@angular/core';
import { jsPDF } from 'jspdf';
import html2canvas from 'html2canvas';

@Injectable({
  providedIn: 'root'
})
export class PdfService {
  async generatePdf() {
    // PDF generation logic goes here
  }
}
Step 5: Integrating the PDF Service into the Component
In the app.component.ts file, import the PdfService and create a method called downloadPdf:
import { Component } from '@angular/core';
import { PdfService } from './pdf.service';

@Component({
  selector: 'app-root',
  templateUrl: './app.component.html',
  styleUrls: ['./app.component.scss']
})
export class AppComponent {
  constructor(private pdfService: PdfService) {}

  downloadPdf() {
    this.pdfService.generatePdf();
  }
}
Step 6: Creating the HTML Template
Create an HTML template in the app.component.html file:
<button (click)="downloadPdf()">Download as PDF</button>
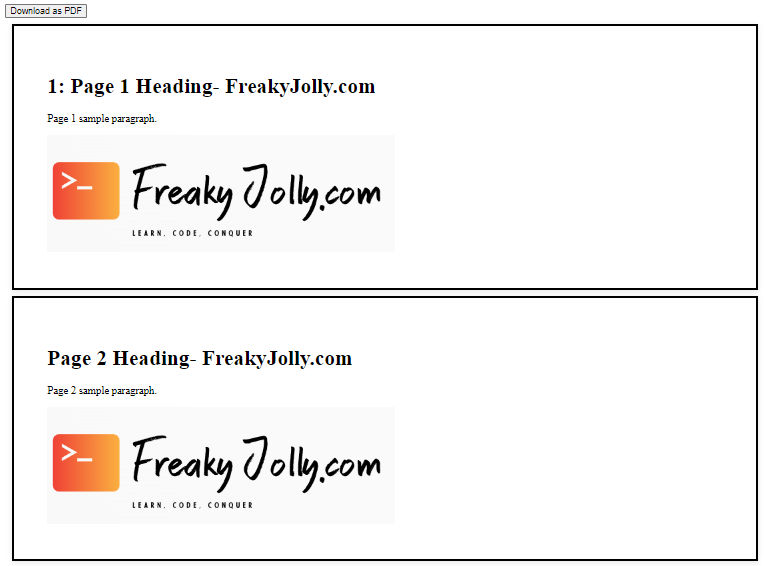
<div class="pages">
<div id="page-1" class="page">
<h1>1: Page 1 Heading- FreakyJolly.com</h1>
<p>Page 1 sample paragraph.</p>
<img src="../assets/fj-logo.png" alt="Sample Image for Page 1" />
</div>
<div id="page-2" class="page">
<h1>Page 2 Heading- FreakyJolly.com</h1>
<p>Page 2 sample paragraph.</p>
<img src="../assets/fj-logo.png" alt="Sample Image for Page 2" />
</div>
<div id="page-3" class="page">
<h1>Page 3 Heading- FreakyJolly.com</h1>
<p>Page 3 sample paragraph.</p>
<img src="../assets/fj-logo.png" alt="Sample Image for Page 3" />
</div>
</div>
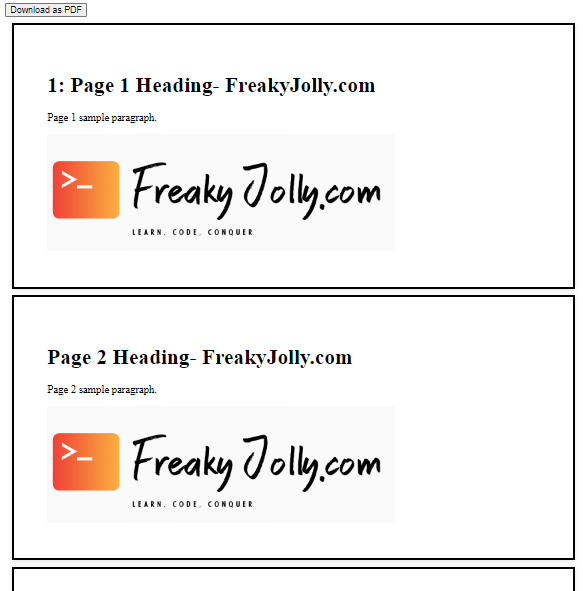
Step 7: Applying CSS Styles
Create a new file app.component.scss and apply CSS styles for the .page class:
.page {
  background-color: #ffffff;
  padding: 50px;
  margin-bottom: 50px;
  box-shadow: 0 2px 8px rgba(0, 0, 0, 0.1);
  border: 4px solid #000;
  margin: 10px;
}
Step 8: Adding Images to the PDF
Place your desired images inside the assets folder and update the src attribute in the app.component.html file accordingly.
Step 9: Configuring the Download Button
Update the generatePdf method in the pdf.service.ts file with the following code:
import { Injectable } from '@angular/core';
import { jsPDF } from 'jspdf';
import html2canvas from 'html2canvas';

@Injectable({
  providedIn: 'root',
})
export class PdfService {
  async generatePdf() {
    const pdf = new jsPDF('p', 'mm', 'a4');
    const pages = document.querySelectorAll('.page');

    for (const [index, page] of Array.from(pages).entries()) {
      const canvas = await html2canvas(page as HTMLElement, { scale: 3 });

      const paddingTop = 50;
      const paddingRight = 50;
      const paddingBottom = 50;
      const paddingLeft = 50;

      const canvasWidth = canvas.width + paddingLeft + paddingRight;
      const canvasHeight = canvas.height + paddingTop + paddingBottom;

      const newCanvas = document.createElement('canvas');
      newCanvas.width = canvasWidth;
      newCanvas.height = canvasHeight;
      const ctx = newCanvas.getContext('2d');

      if (ctx) {
        ctx.fillStyle = '#ffffff'; // Background color
        ctx.fillRect(0, 0, canvasWidth, canvasHeight);
        ctx.drawImage(canvas, paddingLeft, paddingTop);
      }

      const imgData = newCanvas.toDataURL('image/png');
      const imgProps = pdf.getImageProperties(imgData);
      const pdfWidth = pdf.internal.pageSize.getWidth();
      const pdfHeight = (imgProps.height * pdfWidth) / imgProps.width;

      pdf.addImage(imgData, 'PNG', 0, 0, pdfWidth, pdfHeight);

      if (index < pages.length - 1) {
        pdf.addPage();
      }
    }

    pdf.save('content.pdf');
  }
}
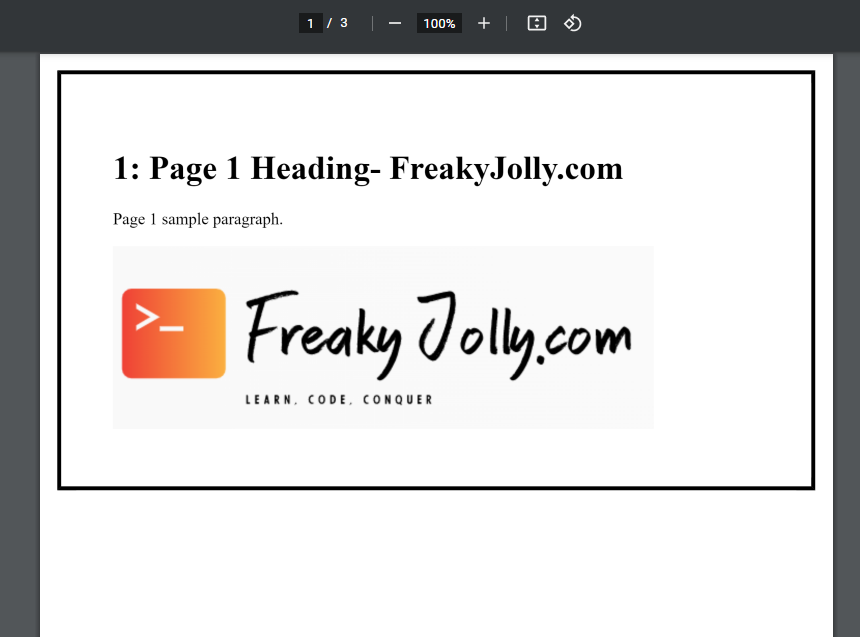
Step 10: Testing the Application
Run your Angular application using the following command:
ng serveVisit http://localhost:4200 in your browser and test the “Download as PDF” button.
FAQs
Can I use different libraries to generate PDFs in Angular?
Yes, there are several libraries available for generating PDFs in Angular applications. Some popular alternatives include pdfmake and ngx-pdf. You can choose the library that best suits your needs and requirements.
Can I customize the appearance of the generated PDF?
Yes, you can customize the appearance of the PDF by modifying the HTML templates, CSS styles, and adjusting the settings in the generatePdf method. You can also refer to the documentation of the specific library you’re using for more advanced customization options.
How can I add page numbers to the generated PDF?
You can add page numbers by using the text method provided by jsPDF. Add the following code snippet inside the loop in the generatePdf method after the pdf.addImage() line:
const pageNumber = index + 1;
pdf.text(`Page ${pageNumber}`, pdfWidth / 2, pdfHeight - 20, { align: 'center' });
Can I convert other file types, such as SVG or DOCX, to PDF in Angular?
Yes, you can convert various file types to PDF in Angular. However, this process might require additional libraries or tools, depending on the file format. For example, you can use canvg to convert SVG to canvas and then use jsPDF to create the PDF.
How can I optimize the size of the generated PDF file?
To optimize the size of the generated PDF file, consider the following tips:
-
- Use JPEG images with lower quality settings instead of PNG images.
- Minimize the use of custom fonts, as they can significantly increase the file size.
- Use the
compressoption when creating a newjsPDFinstance:
const pdf = new jsPDF('p', 'mm', 'a4', true); // true enables compression
Conclusion
You have successfully created an Angular application that downloads multiple sections on a page as a multi-page PDF file. You can now customize the application further by adding more content, styling, or additional functionality.