This tutorial will explain how to export HTML tables or nearly any content such as PNG Image, PDF, JSON, xlsx, txt, etc., without any hassles in the Angular application.
We can easily export the HTML table or site elements into various file formats, including PDF, Images, JSON, etc., using the ngx-export-as plugin. This helps us install all the required packages under the hood for each export file type and saves time.
Moreover, even if we embed images in the HTML content, they can be easily exported inside the PNG images or PDF files. There are various javascript plugins like:
- PNG – HTML2Canvas
- PDF – HTML2PDF
- Microsoft Excel sheets – SheetJS js-xlsx
- Microsoft Word documents – html-docx-js
NGX Export As plugin manages that to provide a seamless export feature in a single implementation format.
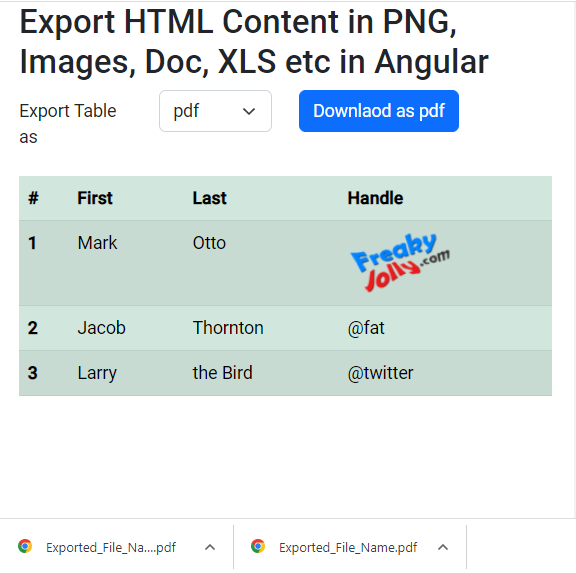
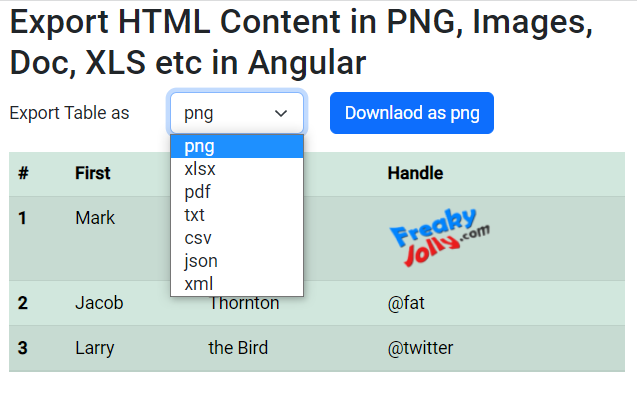
Our application with the Export-As feature will look like this, that has format selection into which we want the HTML table to be exported:
How to Export HTML Table as Image, PDF, JSON, XLSX in Angular?
Follow these quick steps to easily implement the export-as feature:
Step 1 – Create Angular Application
Step 2 – Install NGX Export As a Library
Step 3 – Refactor AppModule
Step 4 – Create Table Template with Export Button
Step 5 – Add Export -As a Feature in Component
Step 6 – View Application
Create Angular Application
To create angular applications, your system must have the NG CLI tool installed. Install or update it by executing the below command:
npm install -g @angular/cli
Now create a new app by executing the below command in the terminal:
ng new angular-export-app
Enter inside the app directory:
cd angular-export-app
Install NGX Export As a Library
Thereafter, we will install the NGX Export As a library in our application. Head towards the app root in the terminal and execute the following npm command:
npm install --save ngx-export-as
Refactor AppModule
After completing the installation, we need to import the ExportAsModule to access the methods provided by the Export As plugin inside our angular app.
Open the app.module.ts file and update as shown below:
import { NgModule } from '@angular/core';
import { BrowserModule } from '@angular/platform-browser';
import { AppComponent } from './app.component';
import { FormsModule } from '@angular/forms';

import { ExportAsModule } from 'ngx-export-as';

@NgModule({
  declarations: [AppComponent],
  imports: [FormsModule, BrowserModule, ExportAsModule],
  providers: [],
  bootstrap: [AppComponent],
})
export class AppModule {}
Create Table Template with Export Button
To test the export as a feature, we will add a sample table with a download button. Also, there will be a select box on top to select export as the file type.
Open the app.component.html file and update its template as shown below:
<div class="wrap">
  <h1>Export HTML Content in PNG, Images, Doc, XLS etc in Angular</h1>
  <div class="mb-3 row">
    <label class="col-3 col-form-label">Export Table as</label>
    <div class="col-3">
      <select class="form-select" [(ngModel)]="downloadAs">
        <option selected value="png">png</option>
        <option value="xlsx">xlsx</option>
        <option value="pdf">pdf</option>
        <option value="txt">txt</option>
        <option value="csv">csv</option>
        <option value="json">json</option>
        <option value="xml">xml</option>
      </select>
    </div>
    <div class="col-5">
      <button type="button" class="btn btn-primary" (click)="export()">
        Downlaod as {{ downloadAs }}
      </button>
    </div>
  </div>

  <div>
    <table class="table table-success table-striped" id="sampleTable">
      <thead>
        <tr>
          <th scope="col">#</th>
          <th scope="col">First</th>
          <th scope="col">Last</th>
          <th scope="col">Handle</th>
        </tr>
      </thead>
      <tbody>
        <tr>
          <th scope="row">1</th>
          <td>Mark</td>
          <td>Otto</td>
          <td>
            <span>
              <img src="../assets/logo.png" alt="" srcset="" />
            </span>
          </td>
        </tr>
        <tr>
          <th scope="row">2</th>
          <td>Jacob</td>
          <td>Thornton</td>
          <td>@fat</td>
        </tr>
        <tr>
          <th scope="row">3</th>
          <td>Larry</td>
          <td>the Bird</td>
          <td>@twitter</td>
        </tr>
      </tbody>
    </table>
  </div>
</div>
The download button calling the export() function will decide what format need to be downloaded out of the HTML template.
Add Export -As a Feature in Component
Now open the app.component.ts class file and update it as below:
import { Component } from '@angular/core';

import {
  ExportAsService,
  ExportAsConfig,
  SupportedExtensions,
} from 'ngx-export-as';

@Component({
  selector: 'app-root',
  templateUrl: './app.component.html',
  styleUrls: ['./app.component.css'],
})
export class AppComponent {
  downloadAs: SupportedExtensions = 'png';

  exportAsConfig: ExportAsConfig = {
    type: 'xlsx', // the type you want to download
    elementIdOrContent: 'sampleTable', // the id of html/table element
  };

  constructor(private exportAsService: ExportAsService) {}

  export() {
    this.exportAsConfig.type = this.downloadAs;
    // download the file using old school javascript method
    this.exportAsService
      .save(this.exportAsConfig, 'Exported_File_Name')
      .subscribe(() => {
        // save started
      });
    // get the data as base64 or json object for json type - this will be helpful in ionic or SSR
    this.exportAsService.get(this.exportAsConfig).subscribe((content) => {
      console.log(content);
    });
  }
}
We have to import the ExportAsService, ExportAsConfig and SupportedExtensions the save or get functions. You can preferably call the get function.
View Application
We are done with the implementation part, now you can run the application by executing the below command:
npm startIt will start the webserver and run it on the following URL: