In this tutorial, we will create an Ionic 3 application to demonstrate the usage of Native Camera feature with the help of Cordova and Ionic Native Plugins wrappers.
Before we start with application make sure that your system is having updated version of NodeJS installed.
Create a new Ionic 3 Application
Install latest version of Ionic and Cordova CLI.
$ npm install -g ionic cordovaNow we will create a new blank application
$ ionic start Ionic3CameraDemo blankAfter application is created, go to the root using CD command
$ cd Ionic3CameraDemoIf your system is having Visual Studio code(VS Code) intalled, use $ code . command to open project in VS Code
Install the Cordova and Ionic Native plugins:
$ ionic cordova plugin add cordova-plugin-camera
$ npm install --save @ionic-native/camera
Add this plugin in application’s module file
In app.module.ts, import plugin and add in imports array.
import { BrowserModule } from '@angular/platform-browser';
import { ErrorHandler, NgModule } from '@angular/core';
import { IonicApp, IonicErrorHandler, IonicModule } from 'ionic-angular';
import { SplashScreen } from '@ionic-native/splash-screen';
import { StatusBar } from '@ionic-native/status-bar';

import { Camera } from '@ionic-native/camera';

import { MyApp } from './app.component';
import { HomePage } from '../pages/home/home';

@NgModule({
  declarations: [
    MyApp,
    HomePage
  ],
  imports: [
    BrowserModule,
    IonicModule.forRoot(MyApp)
  ],
  bootstrap: [IonicApp],
  entryComponents: [
    MyApp,
    HomePage
  ],
  providers: [
    StatusBar,
    SplashScreen,
    Camera,
    {provide: ErrorHandler, useClass: IonicErrorHandler}
  ]
})
export class AppModule {}
Capture Image in Application
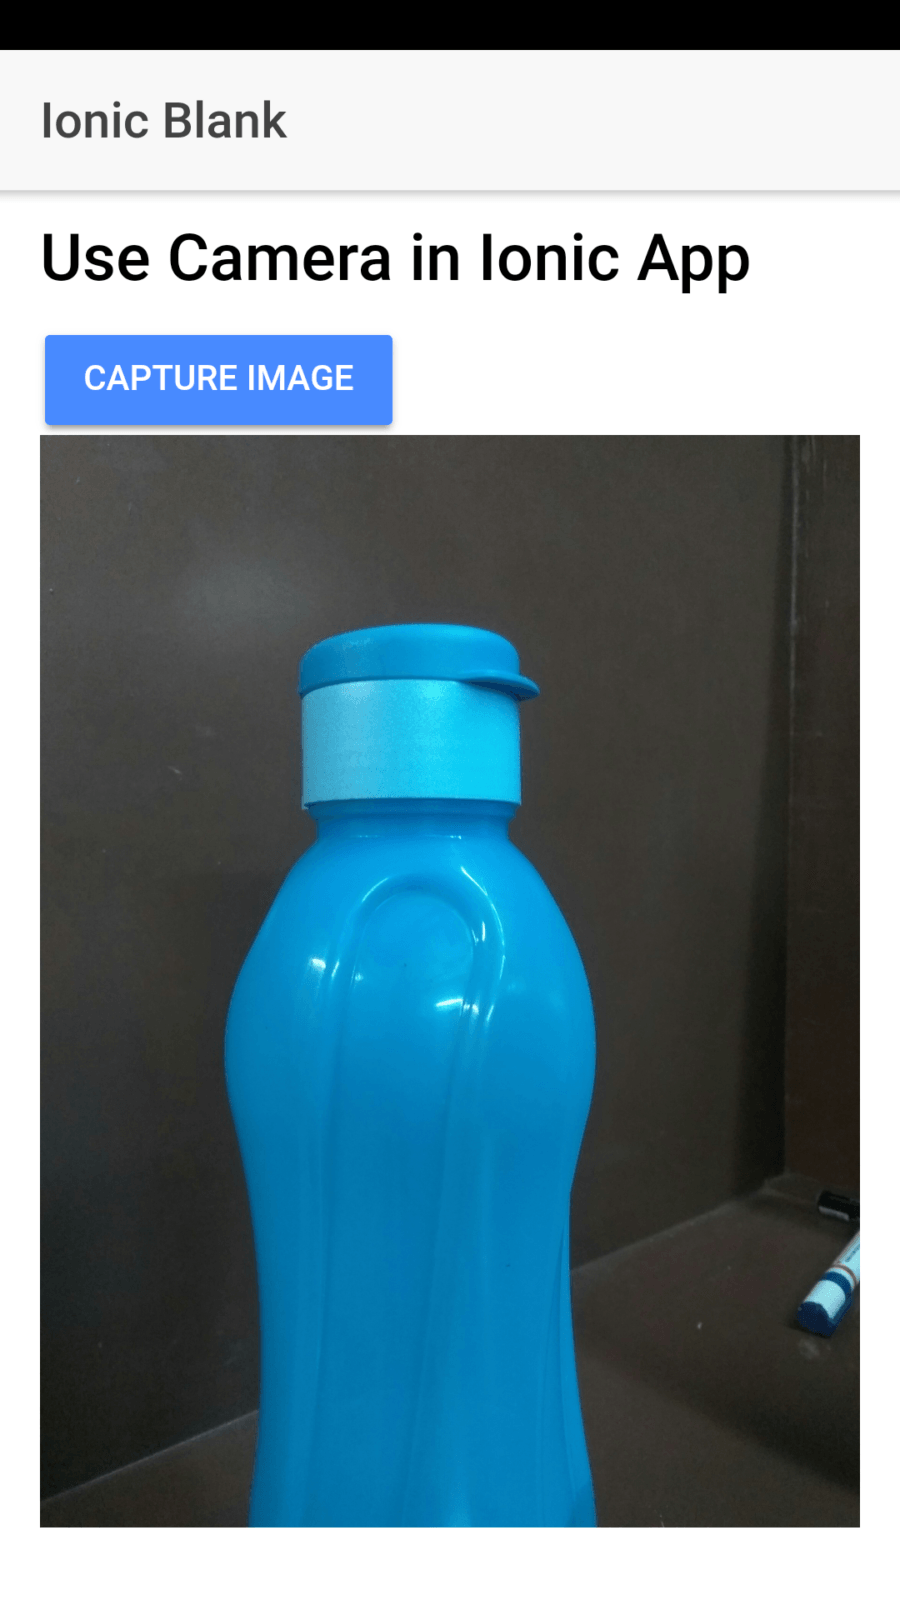
In home.html, add a button to capture an image
<ion-header>
  <ion-navbar>
    <ion-title>
      Ionic Blank
    </ion-title>
  </ion-navbar>
</ion-header>

<ion-content padding>
  <h1>Use Camera in Ionic App</h1>


  <button ion-button (click)="clickImage()">Capture Image</button>
  <img src="{{clickedImagePath}}" />

</ion-content>
In HTML we have a button to start the camera and click an image, an image tag to show an image we just clicked.
Add Method in Home Component
import { Component } from '@angular/core';
import { NavController } from 'ionic-angular';

import { Camera, CameraOptions } from '@ionic-native/camera';

@Component({
  selector: 'page-home',
  templateUrl: 'home.html'
})
export class HomePage {
  options: CameraOptions = {
    quality: 100,
    destinationType: this.camera.DestinationType.DATA_URL,
    encodingType: this.camera.EncodingType.JPEG,
    mediaType: this.camera.MediaType.PICTURE,
    cameraDirection:0
  }
  clickedImagePath:any;

  constructor(
    public navCtrl: NavController,
    private camera: Camera
    ) {

  }

  clickImage(){
    this.camera.getPicture(this.options).then((imageData) => {
      // imageData is either a base64 encoded string or a file URI
      // If it's base64 (DATA_URL):
      let base64Image = 'data:image/jpeg;base64,' + imageData;
      this.clickedImagePath = 'data:image/jpeg;base64,' + imageData;
     }, (err) => {
      // Handle error
     });
  }

}
Import Camera module then in constructor providers. We can add configuration options.
Available Options:
quality: it ranges from 0-100
sourceType: Source of an image can be PHOTOLIBRARY(0), CAMERA(1), SAVEDPHOTOALBUM(2)
encodingType: JPEG(0) or PNG(1)
saveToPhotoAlbum: Save the image to the photo album on the device after capture
cameraDirection: BACK(0) or FRONT(1)
You can check more options here