In this tutorial, we’ll learn how to install SQL Server 2019 and MS SQL Server Management Studio for Windows 10 by easy steps.
Sometimes when you try to login to Microsoft SQL Server Management Studio through windows authentication, it doesn’t work, because SQL Server also needs to be installed in the system to create and manage Databased on your local Windows system.
The following are the steps to Download and Install SQL Server 2019 on Windows 10 OS.
Install SQL Server 2019 on Windows 10:
Step 1:
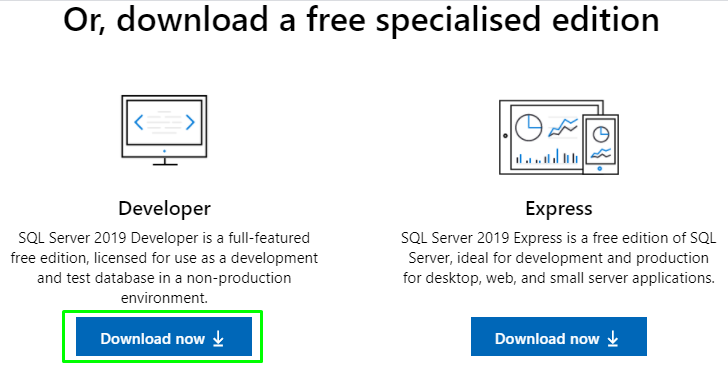
Go to the Microsoft’s official download page for SQL Server. There you need to click on the Download now button under Developer or Express. You can choose any type you need.
Step 2:
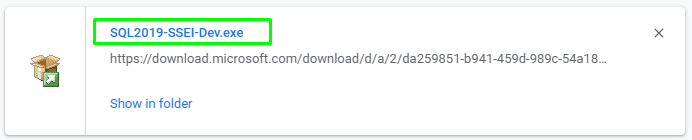
After the installer is downloaded, click on the exe file downloaded to start the installation process.
Step 3:
Now setup will start, and ask for the type of installation. Three options are displayed for Basic, Custom, and Download Media. Just click on Basic for quick and recommended installation to start.

Step 4:
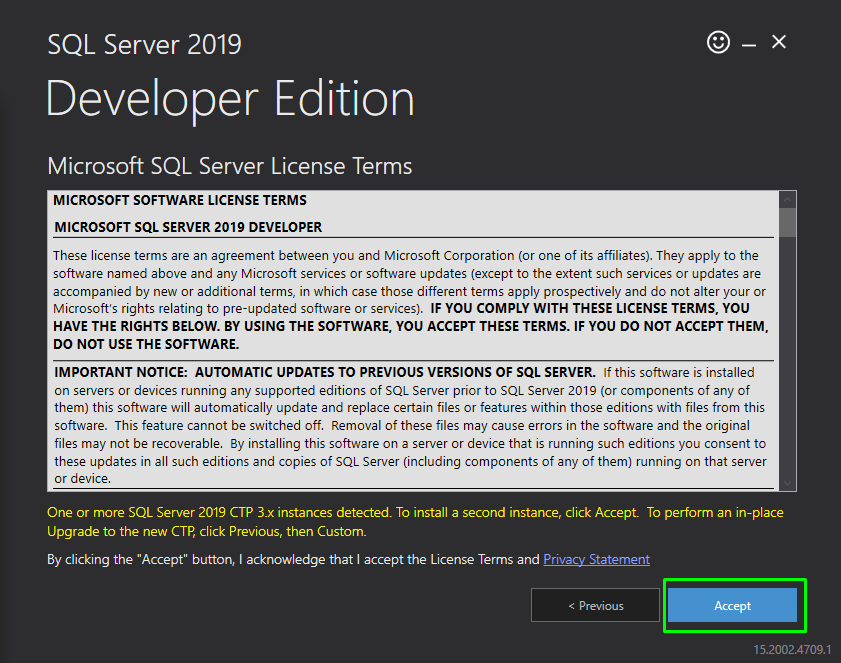
Accept terms and conditions. Or you can read them first 🙂
Step 5:
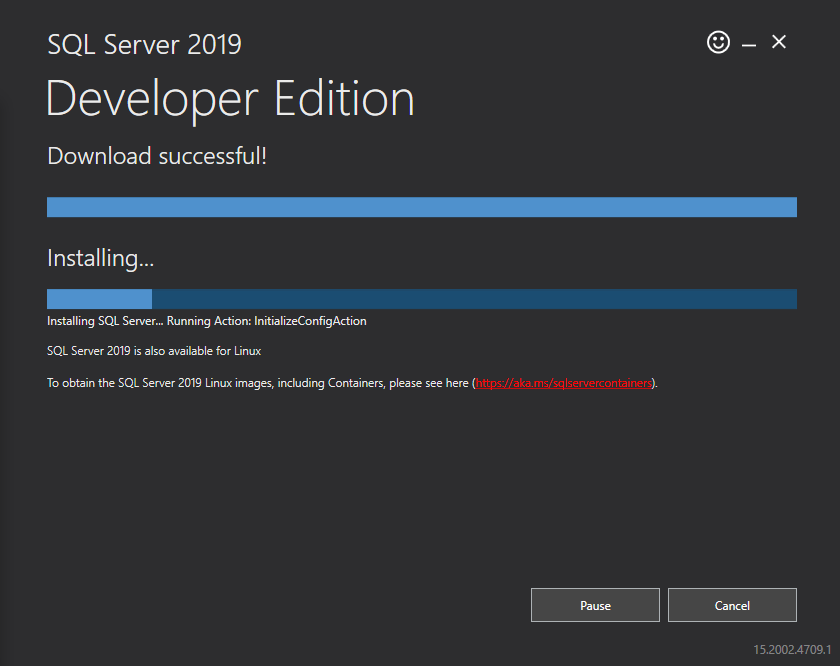
After this step, the setup will start downloading and installation. it downloads around 1GB of data from online.
Step 6:
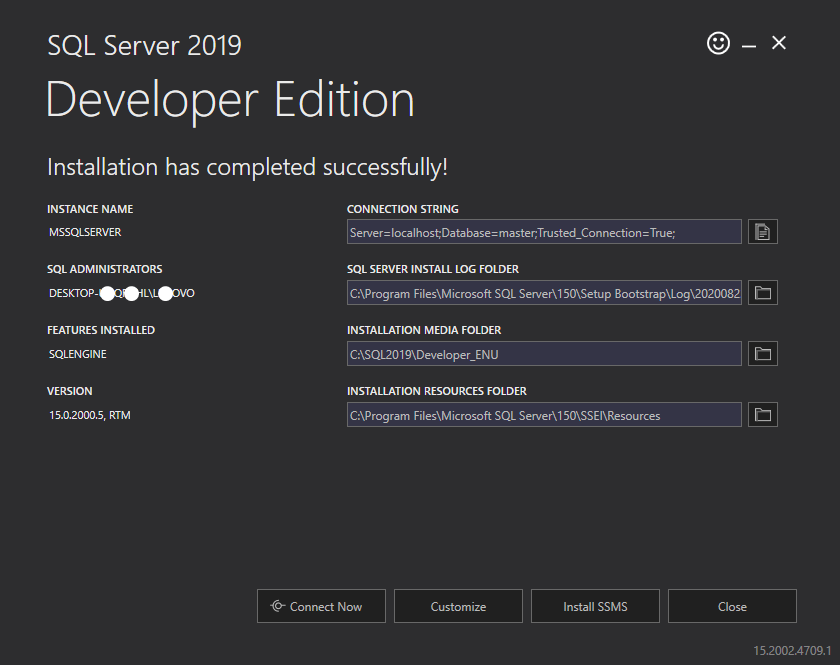
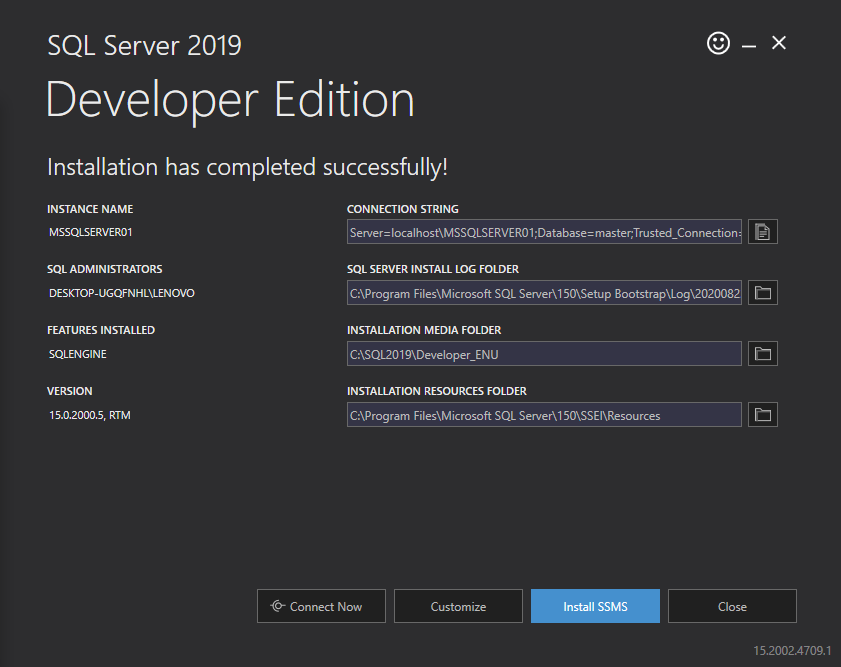
After installation is complete, the following screen will be shown. There is a button “Install SSMS” to install SQL Server Management Studio. If don’t have already installed, in the next section we’ll learn how to install it.
Otherwise, just click on “Customise”
Step 7:
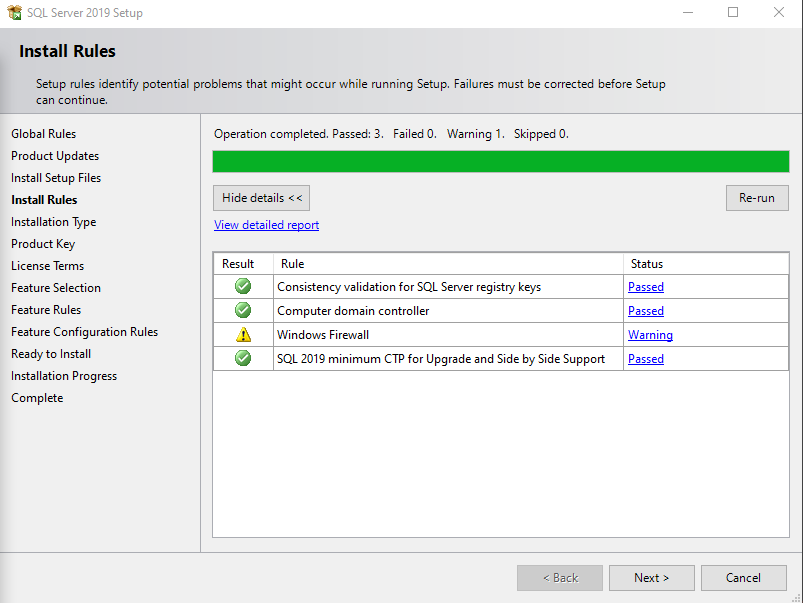
After clicking the “Customise” the screen will show steps to complete acting like a wizard.
Step 8:
After Custom installation is complete, click on the “Close” button.
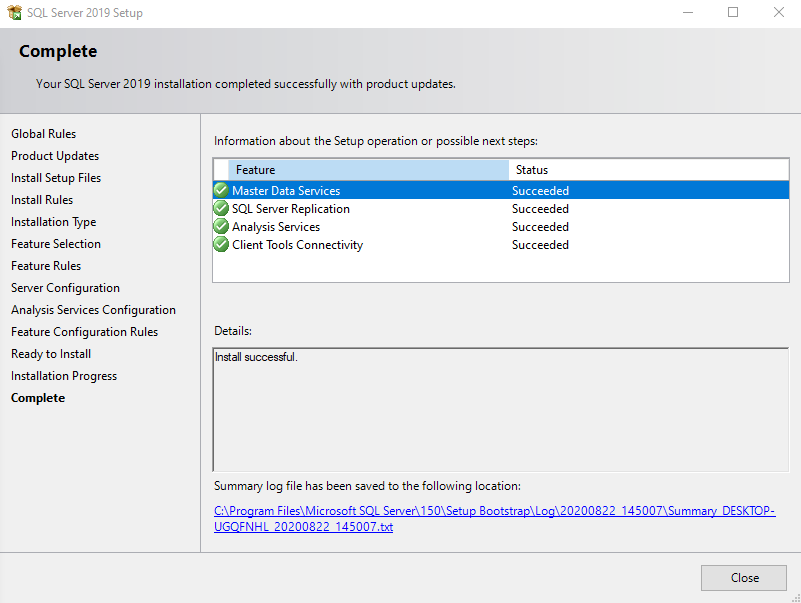
Now you have successfully installed the SQL Server 2019 on your Windows 10 OS.
I hope this was helpful!