Angular Image cropper Example, with zoom, scaling features will be discussed; In this Angular tutorial, we will implement Image Cropping, Zooming, Scaling, and Preview functionality while uploading.
We will learn how to implement crop, zoom, scale an image on selection and display the preview of the selected part of the image using the ngx-image-cropper package module.
On selecting the image, the user can perform various functionalities like zoom, scale or even crop the image. At the real-time selected portion of the image is converted into the Base64 URL. This Base64 URL is used to display the preview part of the image.
The selected and cropped area of the image is converted into a base64 encoded string which can be easily uploaded to the server and saved as a real image into JPG or PNG formats.
Here we will discuss the frontend part to implement Image selection and crop functionality from scratch.
Let’s get started with a new Angular 8 project.
Create an Angular Project
We will create a new Angular project using the NG CLI tool. Here we will use the current version on Ng CLI which is v8.3.15.
Run the following command in terminal to create a new Angular project:
$ ng new angular-image-uploader
? Would you like to add Angular routing? Yes
? Which stylesheet format would you like to use? CSS
Install and Configure Angular Image Cropper
After successfully creating an Angular project, next, we will install the Angular Image Cropper package which is very easy to install and use in the project.
Here we will use the ngx-image-cropper package which very popular and loads of configurations which we will discuss with examples.
Installation
Run following NPM command in terminal to install Image Cropper package:
$ npm install ngx-image-cropper --saveConfigure App Module
To use Image Cropper anywhere in the Angular project, we will import it in our App’s main module in app.module.ts then add in the imports array as shown below:
// app.module.ts
import { BrowserModule } from '@angular/platform-browser';
import { NgModule } from '@angular/core';

import { AppRoutingModule } from './app-routing.module';
import { AppComponent } from './app.component';

import { ImageCropperModule } from 'ngx-image-cropper';

@NgModule({
  declarations: [
    AppComponent
  ],
  imports: [
    BrowserModule,
    AppRoutingModule,
    ImageCropperModule
  ],
  providers: [],
  bootstrap: [AppComponent]
})
export class AppModule { }
Using Image Cropper
To use image cropper in a component, simply add the following three elements in the template.
Update HTML Template
Input : Input control of type file is required to select an image.
ImageCropper : The image-cropper component directive will display the selected image with a cropper area to select the portion of the actual image.
Img : The preview of the selected cropped image will be shown in the img element.
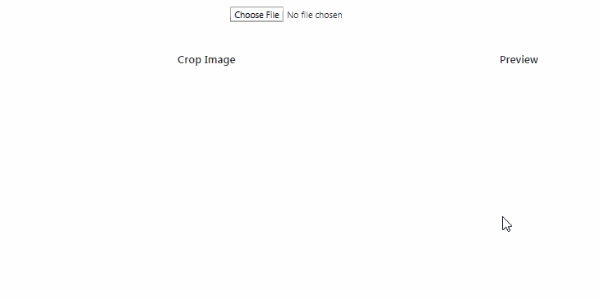
<div class="container">
    <div class="row" style="margin-top: 5%;">
        <div class="text-center col-md-12">
            <input type="file" (change)="fileChangeEvent($event)" />
        </div>
    </div>
    <div class="row" style="margin-top: 5%;">
        <div class="text-center col-md-8">
            <h5>Crop Image</h5>
            <image-cropper
            [imageChangedEvent]="imageChangedEvent"
            [maintainAspectRatio]="true"
            [aspectRatio]="4 / 4"
            [resizeToWidth]="256"
            format="png"
            (imageCropped)="imageCropped($event)"
            (imageLoaded)="imageLoaded()"
            (cropperReady)="cropperReady()"
            (loadImageFailed)="loadImageFailed()"></image-cropper>
        </div>
        <div class="text-center col-md-4">
            <h5>Preview</h5>
            <img [src]="croppedImage" />
        </div>
    </div>
</div><link rel="stylesheet" href="https://stackpath.bootstrapcdn.com/bootstrap/4.3.1/css/bootstrap.min.css">
Update Class Component
In component class, import ImageCroppedEventthen define a few variables and methods as shown below:
// app.component.ts
import { Component } from '@angular/core';

import { ImageCroppedEvent } from 'ngx-image-cropper';

@Component({
  selector: 'app-root',
  templateUrl: './app.component.html',
  styleUrls: ['./app.component.css']
})
export class AppComponent {
  title = 'angular-image-uploader';

    imageChangedEvent: any = '';
    croppedImage: any = '';

    fileChangeEvent(event: any): void {
        this.imageChangedEvent = event;
    }
    imageCropped(event: ImageCroppedEvent) {
        this.croppedImage = event.base64;
    }
    imageLoaded() {
        // show cropper
    }
    cropperReady() {
        // cropper ready
    }
    loadImageFailed() {
        // show message
    }
}
Now run the Angular application by hitting $ ng serve --o.
Conclusion
That’s it now you have a nice working Image cropper tool that will return base64 string of cropped area, which can be sent to the server to save as an image in any format.