UPDATE: See Complete Application Example Here
Part 1: Android SQLite: Integration.
Next Part 2: How to Insert New Row in SQLite Database
Android SQLite is the best way to save data locally in the device itself. SQLite acts as a local database for applications saving data in tradition columns rows architecture. It is suited where data is structured and repeating, for example, user data information. Here we will discuss the implementation of SQLite form beginning using API’s of android.database.sqlite package.
Data limits allowed in SQLite is explained here
In my Android SQLite Example Source Code, there are some major points which need to be discussed separately. So I will break It into multiple but interlinked posts. These will be like this:
-
Integrate SQLite in Android Studio Beginning from a new project.
-
Adding methods to Create Database, provide table name, Inserting data into the table.
-
Deleting data in the table and refresh ListView after a row is removed successfully.
-
Update row data using ListView with editable EditText controls.
Let’s start with the first step to implementing SQLite in a new project…
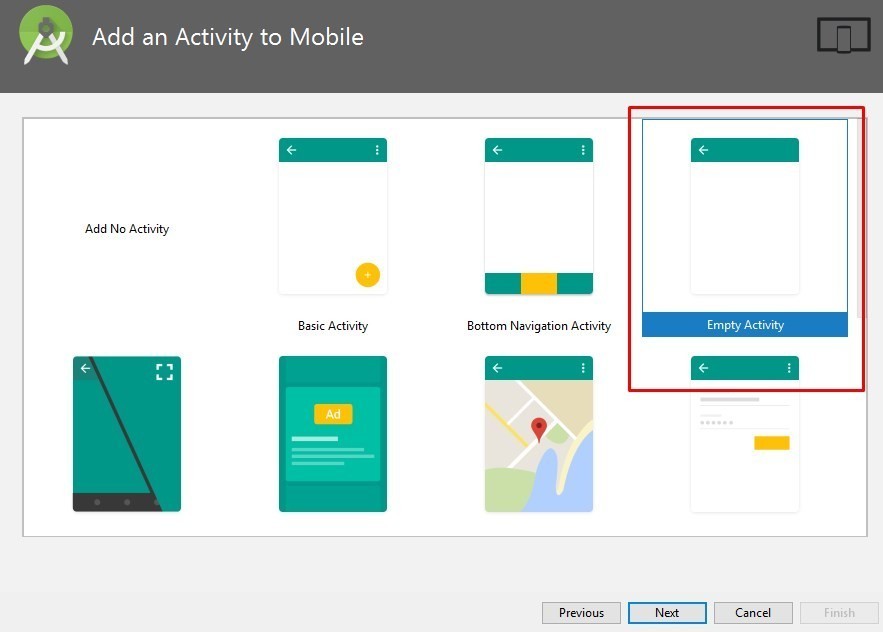
Step 1) Open Android Studio and create a new project with Empty Activity Selection.
Step 2) Next we will create “DataBaseHelper” which will extend “SQLiteOpenHelper” which is a helper class to manage database creation and version management.
public class DataBaseHelper extends SQLiteOpenHelper {
    public DataBaseHelper(Context context, String name, SQLiteDatabase.CursorFactory factory, int version) {
        super(context, name, factory, version);
    }

    @Override
    public void onCreate(SQLiteDatabase _db) {
        try {
            _db.execSQL(UsersDatabaseAdapter.DATABASE_CREATE);
        }catch(Exception er){
            Log.e("Error","exceptioin");
        }
    }

    @Override
    public void onUpgrade(SQLiteDatabase _db, int _oldVersion, int _newVersion)
    {
        _db.execSQL("DROP TABLE IF EXISTS " + TABLE_NAME);
        _db.execSQL("DROP TABLE IF EXISTS " + "SEMESTER1");
        // Create a new one.
        onCreate(_db);
    }
}
Step 3) Create “UsersDatabaseAdapter” this class will have UPSERT Operation methods that we will execute in the database.
public class UsersDatabaseAdapter {
    static final String DATABASE_NAME = "UsersDatabase.db";
    static final String TABLE_NAME = "USERS";
    static final int DATABASE_VERSION = 1;
    // SQL Statement to create a new database.
    static final String DATABASE_CREATE = "create table "+TABLE_NAME+"( ID integer primary key autoincrement,user_name  text,user_phone  text,user_email text); ";
    private static final String TAG = "UsersDatabaseAdapter:";

    // Variable to hold the database instance
    public static SQLiteDatabase db;
    // Context of the application using the database.
    private final Context context;
    // Database open/upgrade helper
    private static DataBaseHelper dbHelper;
    public  UsersDatabaseAdapter(Context _context)
    {
        context = _context;
        dbHelper = new DataBaseHelper(context, DATABASE_NAME, null, DATABASE_VERSION);
    }

    // Method to open the Database
    public  UsersDatabaseAdapter open() throws SQLException
    {
        db = dbHelper.getWritableDatabase();
        return this;
    }

    // Method to close the Database
    public void close()
    {
        db.close();
    }

    // method returns an Instance of the Database
    public  SQLiteDatabase getDatabaseInstance()
    {
        return db;
    }

	/*

	We will add more methods here for
	INSERT,
	UPDATE,
	DELETE,
	GET ROW COUNT,
	TRUNCATE TABLE Operations

	*/

}
Step 4) In “MainActivity” get an instance of “UsersDatabaseAdapter” to create DATABASE and TABLE.
Before OnCreate add
UsersDatabaseAdapter usersDatabaseAdapter;
In OnCreate method add
usersDatabaseAdapter=new UsersDatabaseAdapter(getApplicationContext());It will look like this
public class MainActivity extends AppCompatActivity {

    UsersDatabaseAdapter usersDatabaseAdapter;

    @Override
    protected void onCreate(Bundle savedInstanceState) {
        super.onCreate(savedInstanceState);
        setContentView(R.layout.activity_main);
        // create the instance of Databse
        usersDatabaseAdapter=new UsersDatabaseAdapter(getApplicationContext());
    }

}
Find source code here
Here we discussed the integration of basic file required to Create DATABASE and TABLE where we will Insert some data to play with.
Next Part 2: How to Insert New Row in SQLite Database